Create Projects with Builder
Objective: Gain an understanding of how to create projects using "Builder" and ArcGIS Pro functionalities.
Builder is one of the key elements of the Work Planner module where users can utilize the power of GIS to select treatments across multiple asset classes in near proximity and bundle them into a single project.
In the Work Planner pane, navigate to the "Builder" tab and click to land on the Project Builder page. Works planning starts from here.
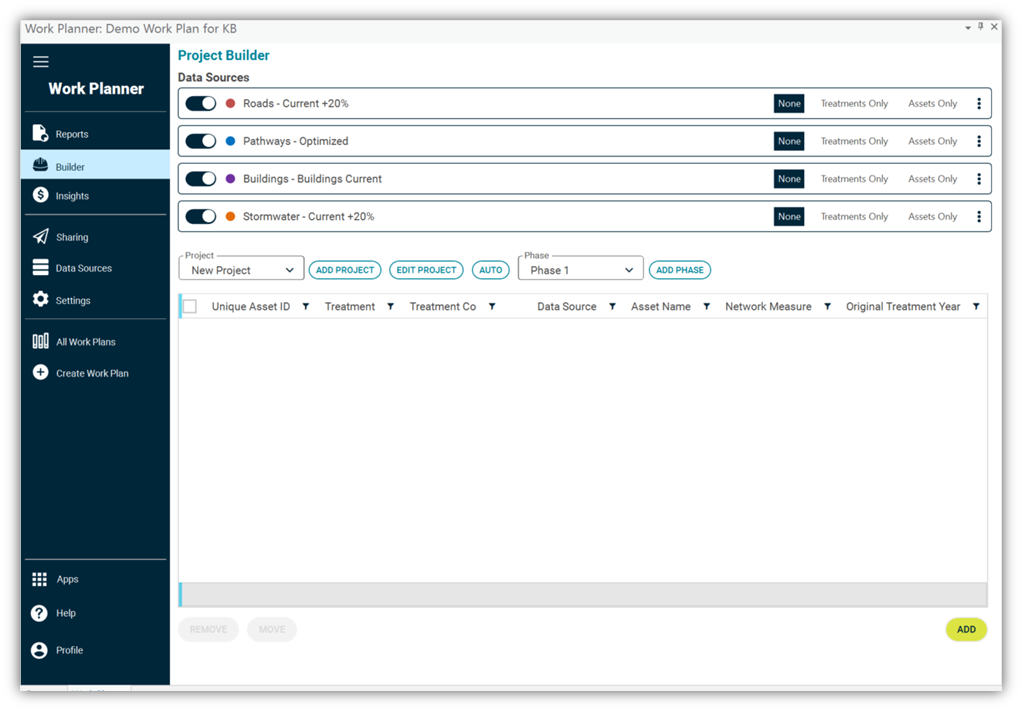
You will find data sources and their settings as well as the buttons that allow you to create projects and projects' phases.
In this page, you can select the visibility of the selected data source on the "Map" window by toggling on/off the slider shown on the left side of the below image. You can also choose the type of data source to be selected on the" Map" window, between "Treatments", "Assets" and "None".

The treatments visualized on the "Map" window are those predicted within the project's time frame. In cases where you wish to view all treatments within the simulation's time frame, click on the three vertical dots on the right side of the Data Source box, then click on the "View all Data Source Treatments".

This action will populate the projects' grid without Project and Phase Name/ Number.

There are two ways to build a works plan using the Work Planner module:
- Manually, by using mapping functionalities provided within ArcGIS Pro application
- Automatically, by using the "Auto Projects" wizard provided in the "Builder."
Manual plan creation allows you to:
- Select/unselect the treatments related to a specific asset type;
- Opportunistically add treatments to the plan for the assets located in the same area;
- Bring forward/move backward treatments to optimize work packages by their location
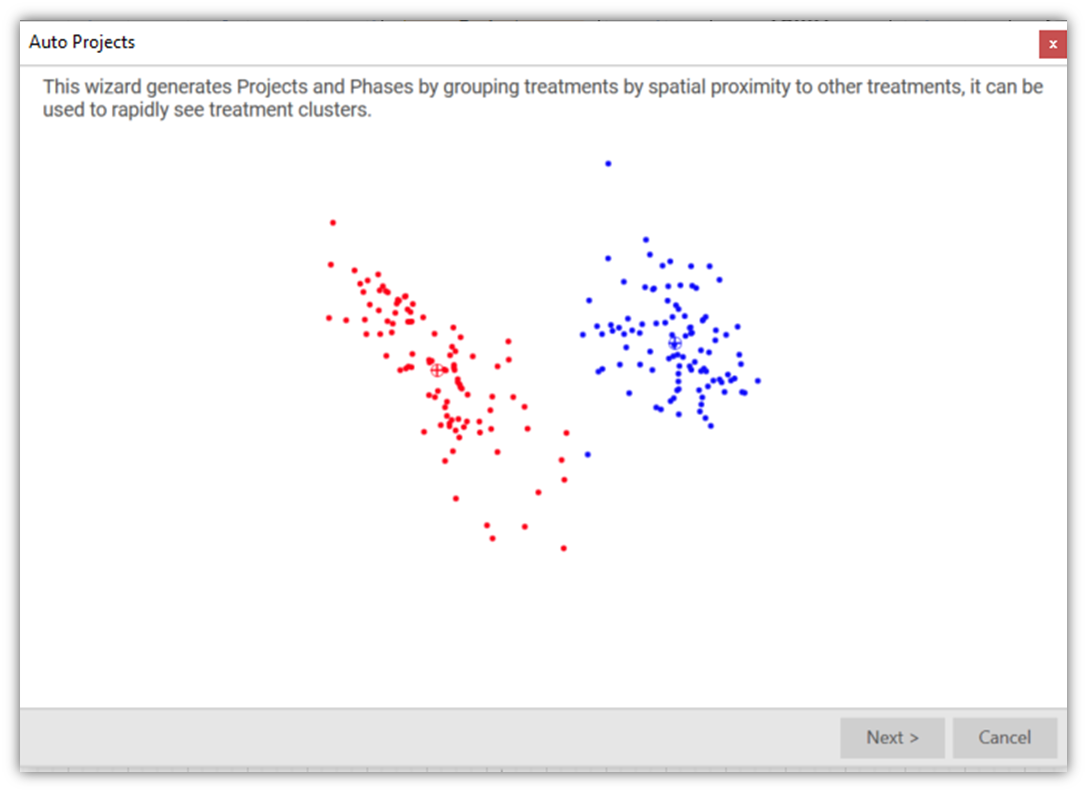
The Automatic plan creation feature will intuitively generate Projects and Phases by their spatial proximity and available funding. It can be used to see the treatment clusters rapidly. When using this method, it is recommended that you review and refine the projects and their phases manually to ensure that the auto-generated program meets your work plan needs.
Manual Project Creation
This section explains the key steps a planner will take to create a work plan:
- In the "Builder" pane, click on the "ADD PROJECT" button.

- Build a project by populating the relevant fields in the form shown in the following image:
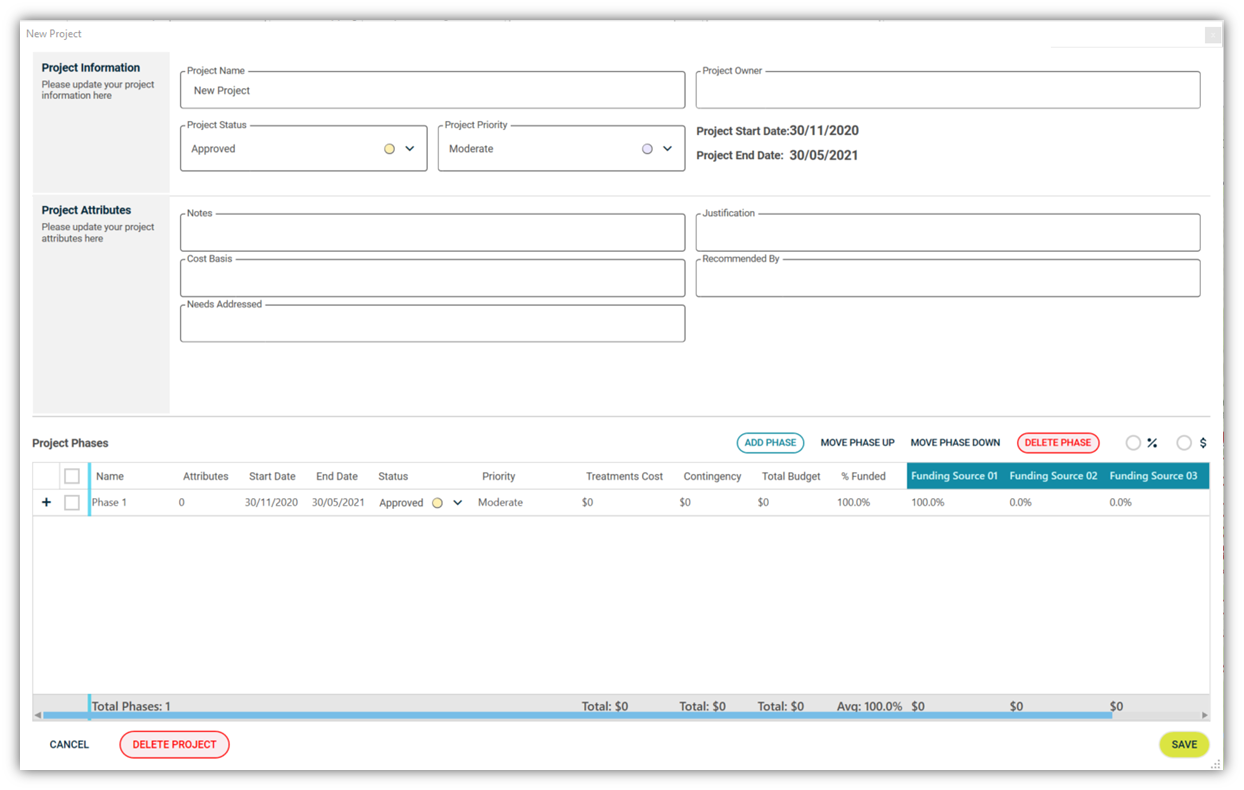
- Populate the "Project Information" fields including Project Name, Project Owner, Project Status and Project Priority. The project's start and end date will be populated automatically.

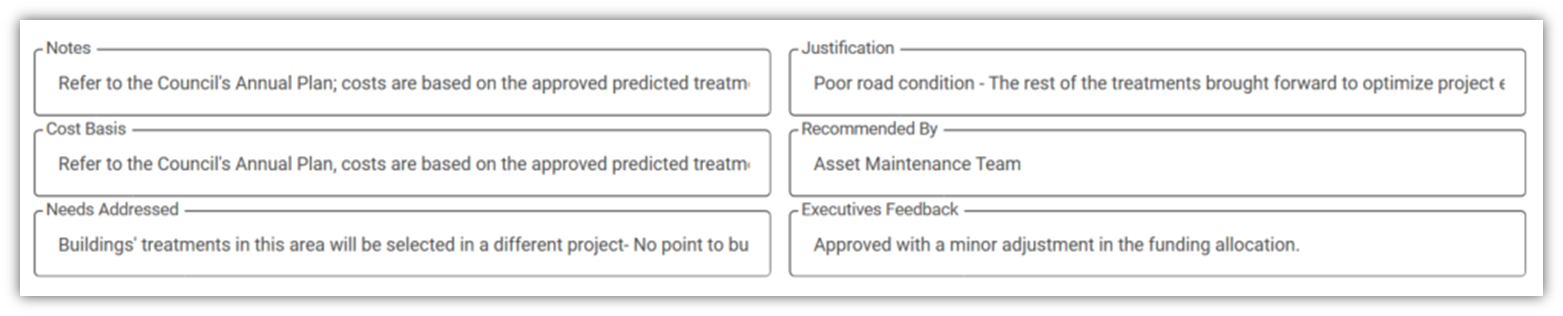
- Populate the "Project Attributes" fields, as defined in the "User Defined Fields" in the plan's "Settings".
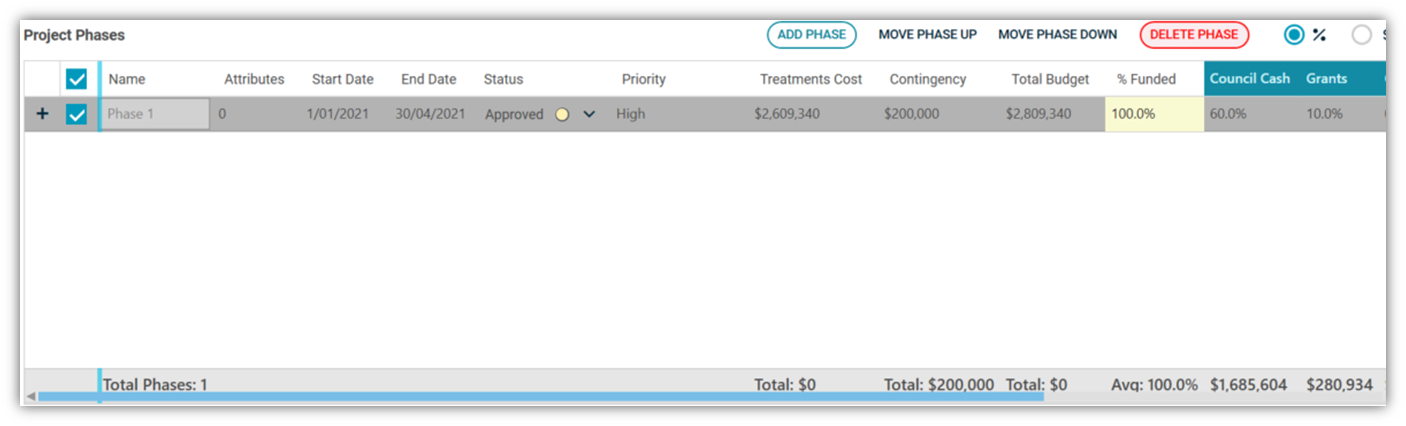
- Populate the "Project Phase" information including Phase Name, Attributes, Start and End Date, Status, Priority and funding sources by percentage. The Treatment Cost will be populated after you add the project. You can populate the project's contingency after you added the treatments.
- Populate the "Project Information" fields including Project Name, Project Owner, Project Status and Project Priority. The project's start and end date will be populated automatically.
Larger projects can be executed in multiple stages. You can break down the project into various phases while setting the appropriate timeline and budget.
- After all fields in the project's form have been populated, click on the "Save" button to save the project information.
- From the Data Sources section, select the relevant data sources that you wish to bundle as a project. For example:

- Navigate to the "Map" window. Zoom in to the area where assets are located. You may zoom in again to the extent that you want to select the assets.
- Navigate to the "Map" tab in ArcGIS Pro application, choose "Select" from the "Selection" group to select the treatment packages by their location on the map. The selected area highlighted on the map.

- Navigate to the Work Planner window and press "ADD". The selected treatments will add to the project. In the "Map" window, a polygon will be generated around the selected area.
- The project has now been created. This example project is a combination of Roads, Pathways and Stormwater asset treatments in the selected area.

- You can navigate to "EDIT PROJECT" and modify the "Project Phase" information if required.
- Repeat steps 1 to 8 to create further additional projects.
Automatic Project Creation
The Auto Project wizard generates projects and phases automatically based on grouping the treatments of neighbouring assets.
- In the "Project Builder" page, click on the "AUTO" button.
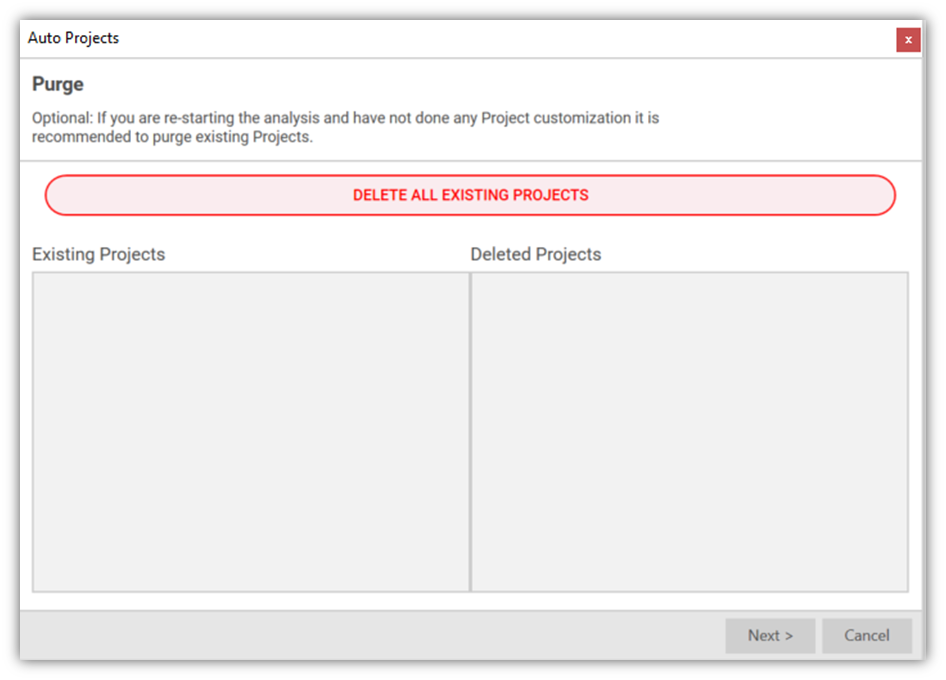
- You may choose to delete the existing projects and start fresh or complete your already created projects (manually) using the Auto Project wizard.
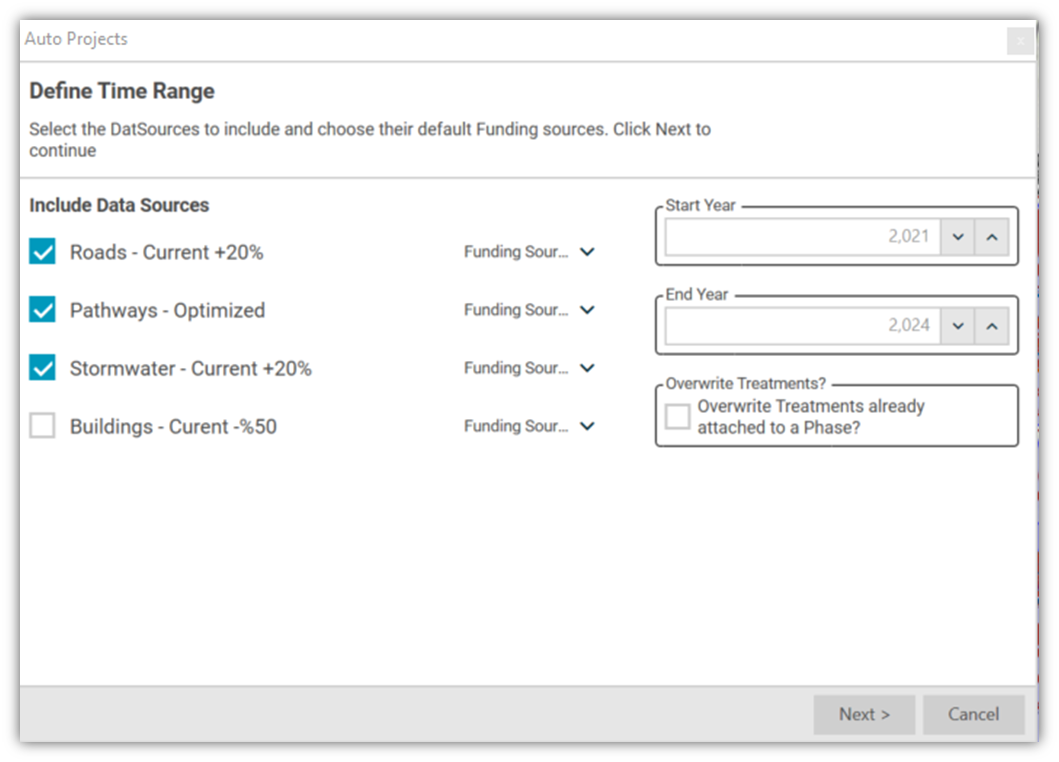
- Select the projects' data source/s (i.e. asset type), the plan's time frame, and the default funding source to each asset type. You can choose to overwrite treatments that are already part of a project phase. Click "Next.
- Define projects parameters such as project and project phases' naming conventions, number of projects, maximum phase cost, project owner, default status, and priority, then click "Next".
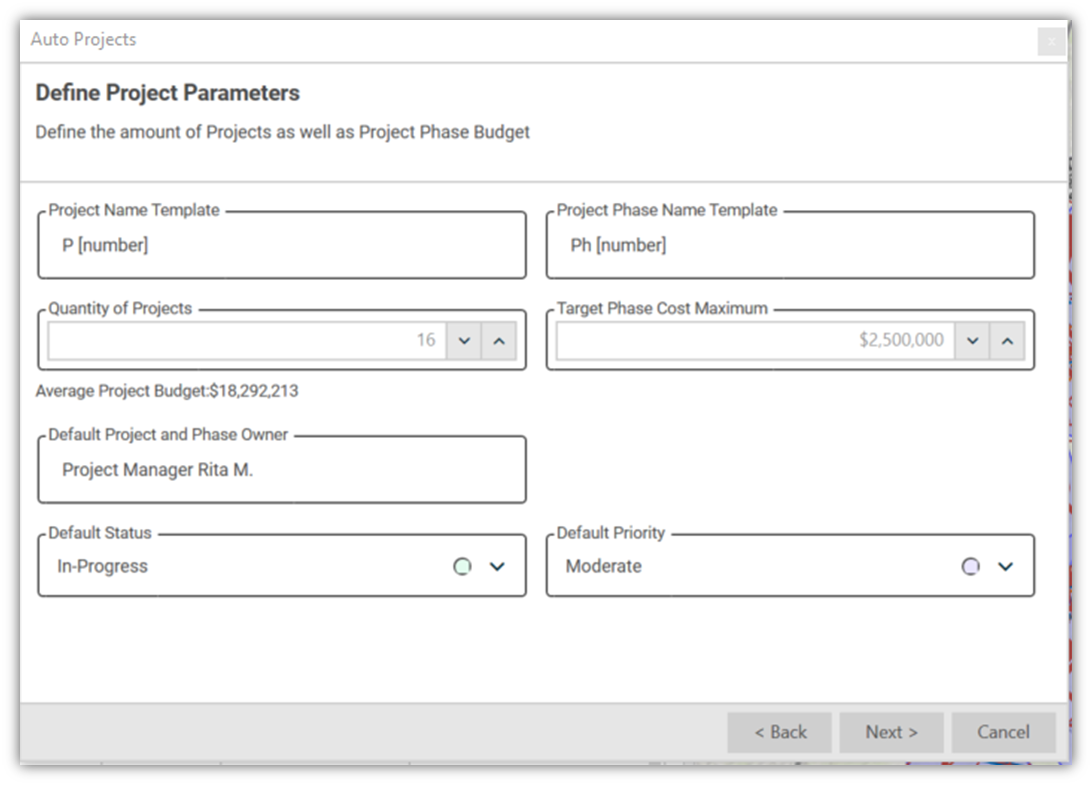
Note: The [number] in the project and phase naming template will be generated automatically, and should not be edited. An example of a naming convention for a project is P [number], and for Phases is Ph [number]. You may choose to leave these two fields unchanged for simplicity.
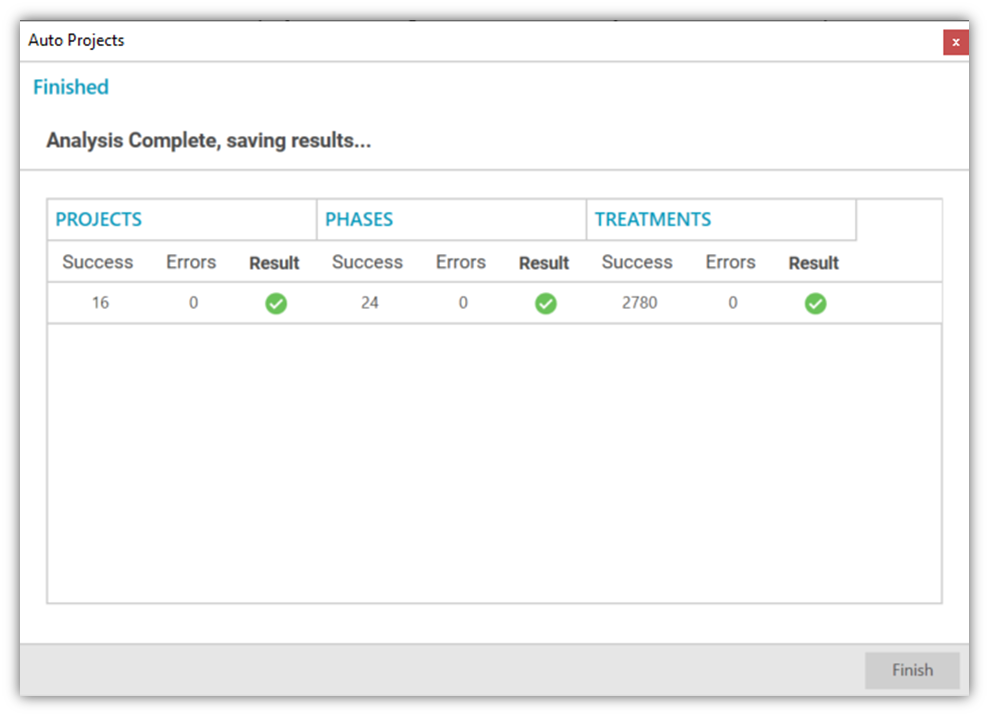
- The projects will now be generated automatically. After completing this step, the following window will pop-up. Click "Finish" to see the projects in the "Project Builder" page.
The projects grid in the "Project Builder" page will be populated with the projects.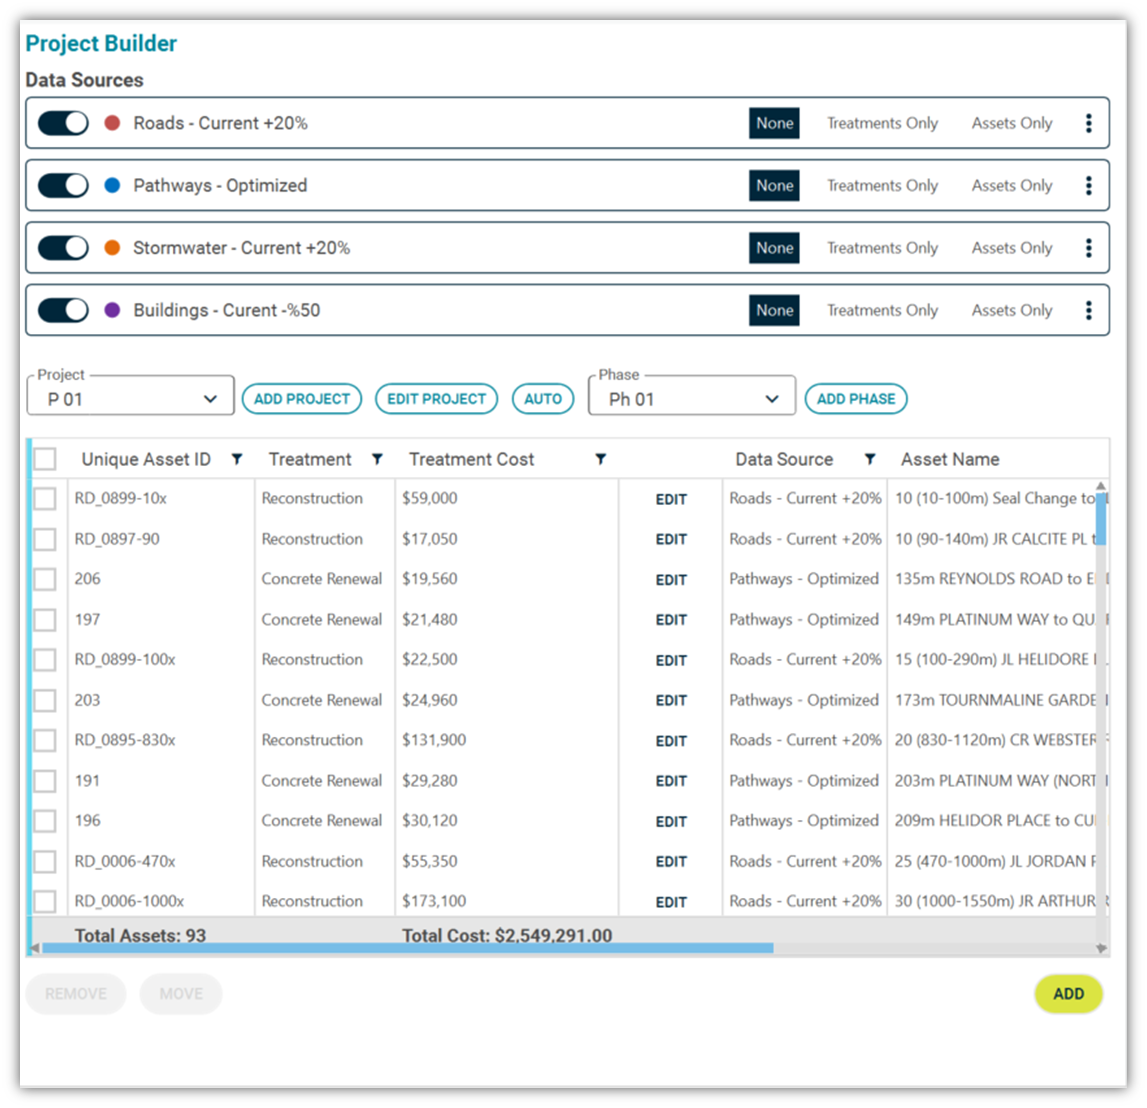
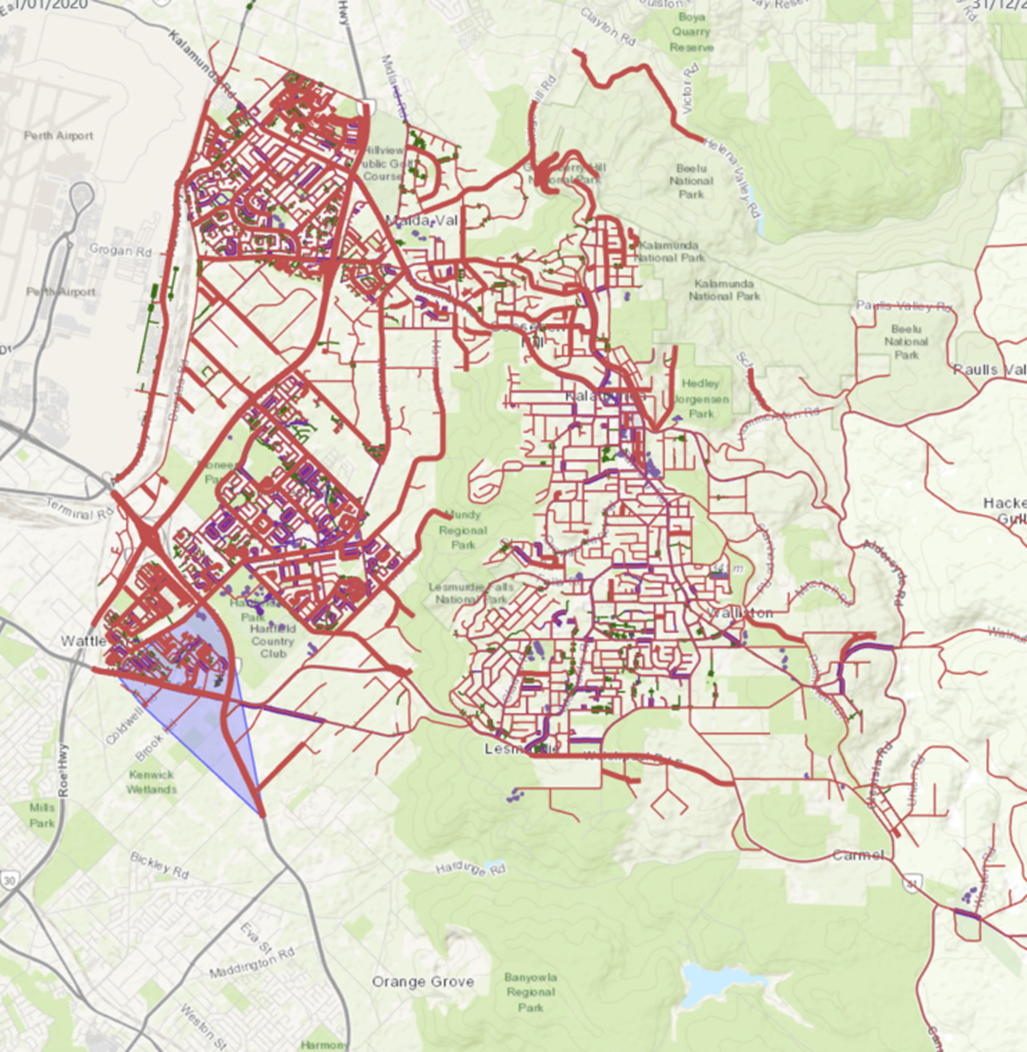
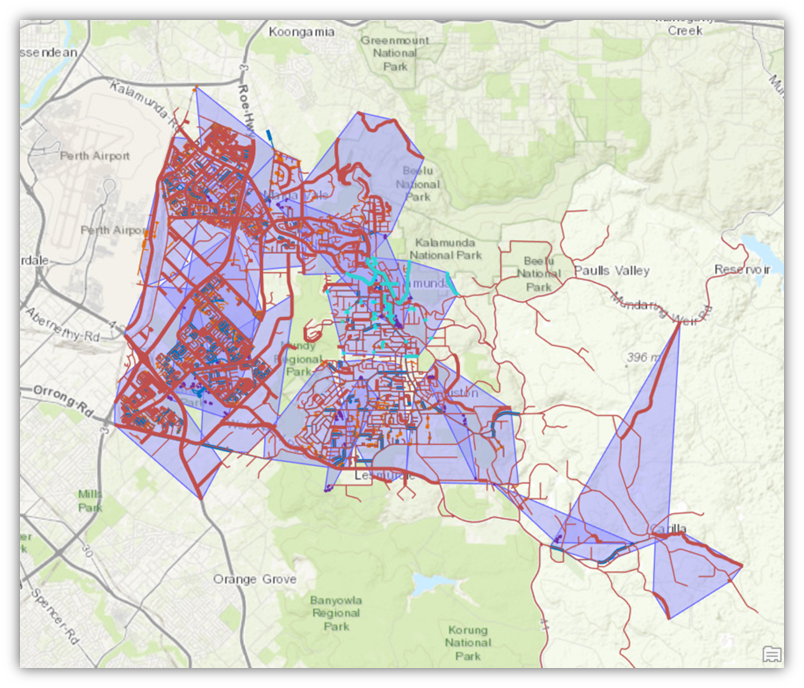
A spatial layer of polygons will be automatically created to show the location of the projects where treatments of the neighbouring assets are bundled.
Map of assets and treatments:
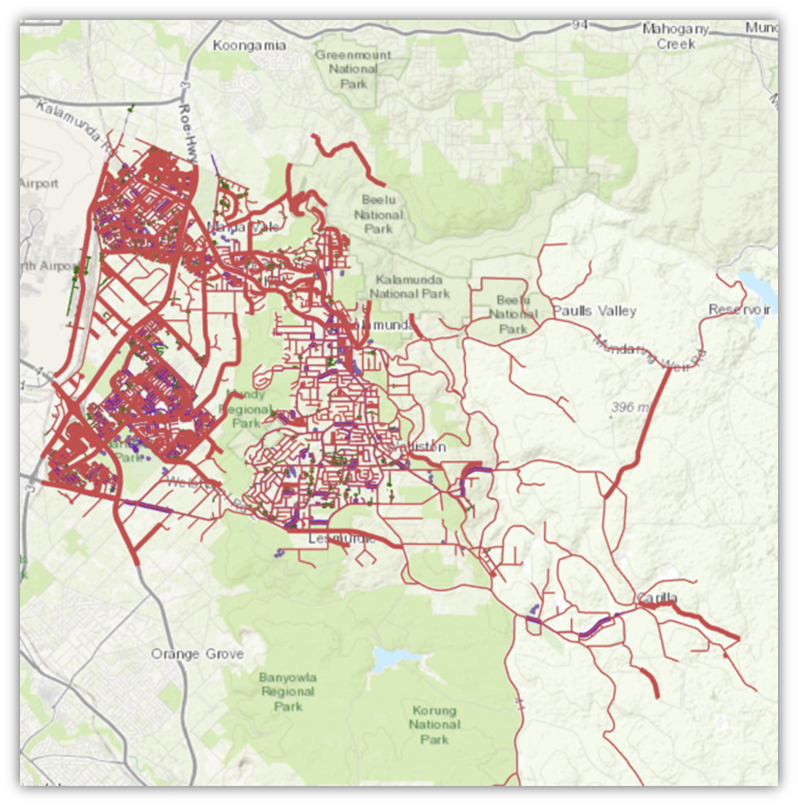
Map of assets, treatments and projects:
At this stage, the initial draft of the work plan is ready. In the next step, review and verify the automatically generated projects and refine the projects' timing, costs and phases by applying your local knowledge and organizational business rules.
